A craft room can turn messy in no time, right?

One minute you’re pulling out supplies for Christmas crafts or things you make to sell, and the next minute the entire room looks like it exploded.
It’s frustrating when you know you could be so much more productive if everything just had a place.
You don’t need pricey organizers to fix it!
You just need a few cheap, clever ways to corral all the bits and pieces you reach for all the time.
With the right setup, your craft room can go from “I give up” to “oh, this actually works.”
Here are some ideas that can help:
1. Dollar Store Drawer Units
These little plastic drawer sets are perfect for corralling all the tiny bits that take over a craft room.
You can grab them at any dollar store for just a few bucks, and they stack pretty nicely if you need more space.
Pop your beads, glue sticks, sewing notions, or stamp pads in there so they stop wandering around the room.
If the colors don’t match your vibe, a bit of spray paint or peel and stick paper cleans them up fast.
Label the drawers so you’re not opening every single one trying to remember where you put that one thing you swear you just had.
Or use Modge Podge to glue fancy scrapbooking paper to the front!
2. Repurposed Mason Jars
Mason jars are perfect for all the little bits that roll around everywhere.
You can find them cheap at thrift stores or just reuse pasta sauce jars if you’ve got a few in the recycling bin.
Fill them with buttons, markers, washi tape, or anything that needs corralling.
Line them up on a shelf so you can see everything at a glance.
If you want them to look cute, wrap a bit of twine around the top or paint them with fancy designs.
3. Hanging Shoe Organizer for Supplies
A clear over the door shoe organizer gives you pockets for all the random supplies you reach for.
It’s super cheap at discount stores and takes about ten seconds to hang up.
Fill the pockets with paints, scissors, tape, small punches, or anything that’s usually buried in drawers.
Since it hangs on the back of the door, you’re saving shelf space without adding any clutter.
Plus, you can actually see what you’ve got instead of digging forever.
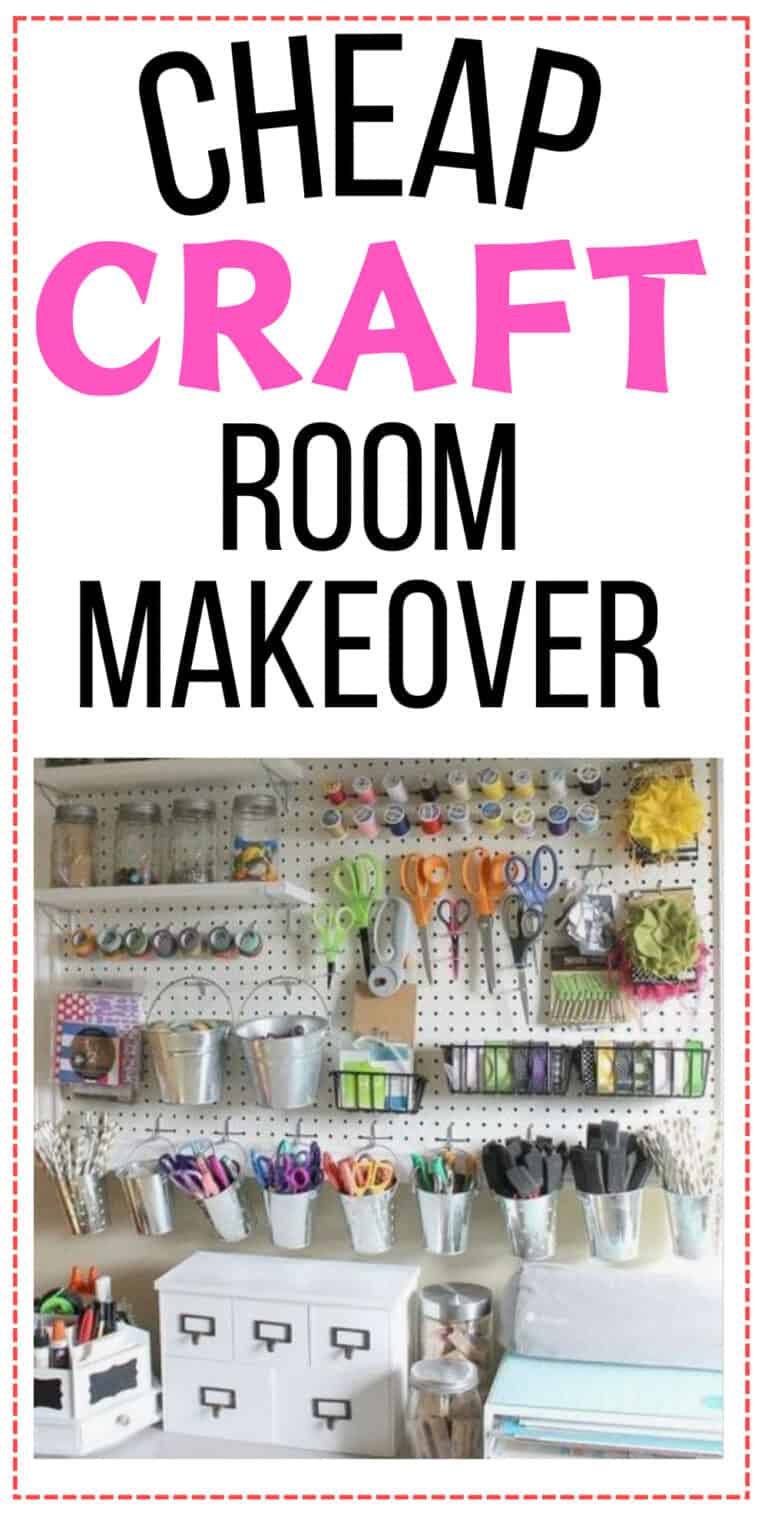
4. Pegboard Wall from a Hardware Sheet
A basic pegboard sheet from the hardware aisle is one of the cheapest ways to get a whole wall organized.
Just hang it up and add hooks or little baskets for scissors, rulers, thread, and tape.
You can paint the board to match your craft room so it blends in nicely.
It keeps your most used tools right in front of you instead of disappearing into piles.
And you can move things around whenever your projects change.
5. Plastic Caddies for Grab and Go Projects
Those plastic caddies kids use for school supplies are perfect for hauling your craft stuff around the room.
They cost just a few dollars at big box stores or dollar stores.
Fill one with your current project so everything stays together instead of scattered across the table.
It makes cleanup quick too since you just pick up the caddy and tuck it on a shelf.
If you tend to juggle a few projects at once, grab a couple so each one has its own home.
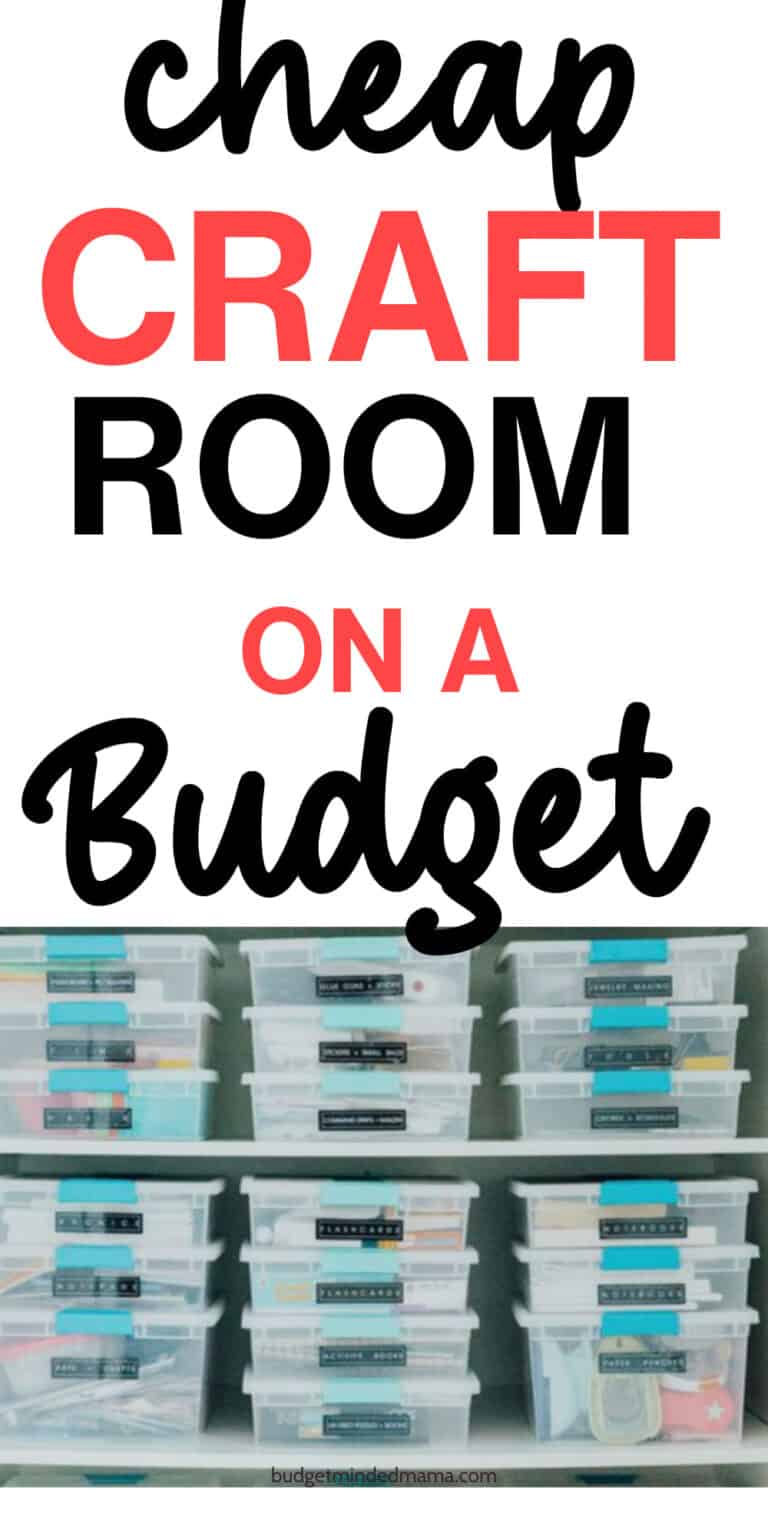
6. Clear Stackable Bins with Labels
These bins make it easy to see exactly what you’ve got without digging through mystery boxes.
You can grab them cheap at dollar stores or budget retailers, and they stack nicely on shelves.
Fill them with fabric scraps, yarn, seasonal craft bits, or anything that usually spreads out everywhere.
Add a simple label so you know what’s inside at a glance.
It saves you from buying duplicates because you couldn’t find the first batch.
7. Tension Rod Ribbon Holder
A cheap tension rod from the bathroom aisle makes a great ribbon holder.
Just slide your ribbon spools on the rod and pop it between two shelves or inside a cabinet.
It keeps the spools contained and stops them from rolling away every time you reach for one.
You can even add a second rod if you’ve got a bigger stash.
It’s a quick setup that looks tidy without spending much at all.
8. Old Bookshelf Turned Supply Tower
If you’ve got an old bookshelf hanging around, it makes an easy storage tower for craft supplies.
Give it a wipe, maybe a bit of paint if you want, then load it with bins, jars, and baskets.
Bookshelves are great because you can adjust the shelves to fit taller items like fabric stacks or bigger tools.
You’ll find these cheap on marketplace sites or thrift stores if you don’t already have one.
It’s a simple upcycle that adds tons of usable space.
9. Wire Baskets from the Dollar Store
Wire baskets are handy for anything that doesn’t mind being out in the open.
Grab a few at the dollar store and use them for yarn, paint bottles, paper packs, or extra rolls of vinyl.
They look neat even when they’re full, which is always a win in a craft room.
Since they’re lightweight, you can hang them on hooks or stack them on shelves.
They keep everything visible so supplies don’t vanish into corners.
10. Magnetic Strip for Small Metal Tools
A cheap magnetic strip gives you a spot for scissors, metal rulers, and little tools that love to go missing.
You can find these strips in the kitchen aisle or even the hardware section.
Stick it on the wall near your workspace so your tools are always right where you left them.
It frees up drawer space and saves you from digging every time you need something sharp.
Plus, it looks way more organized than a pile of tools tossed in a bin.
11. Pantry Style Over the Door Rack
These racks are usually meant for canned goods, but they work great for tall craft items.
Slide one over your craft room door and fill it with spray paint, bottles of glue, jars, or small containers.
They’re cheap at big box stores and give you instant vertical storage without any drilling.
It’s a nice way to keep bulky stuff off your shelves but still easy to grab.
And since everything sits in rows, you won’t lose track of what you have.
12. Reused Food Containers for Small Bits
All those empty yogurt cups, coffee cans, and clear snack tubs make perfect containers for tiny stuff.
Wash them out and use them for beads, buttons, pom poms, or leftover paint.
They’re basically free and you get matching sets if you use the same brand repeatedly.
A bit of cute paper or tape around the outside makes them look intentional instead of like recycling day leftovers.
It’s an easy way to save money and keep clutter under control.
13. Rolling Cart from a Budget Retailer
A simple rolling cart gives you a spot for the stuff you use all the time.
Discount stores usually have them for a pretty low price, and they hold more than you’d think.
Load the shelves with markers, paper, glue guns, or your main project supplies.
You can roll it right up to your workspace then tuck it away when you’re done.
It keeps your main area clear but still gives you quick access to everything.
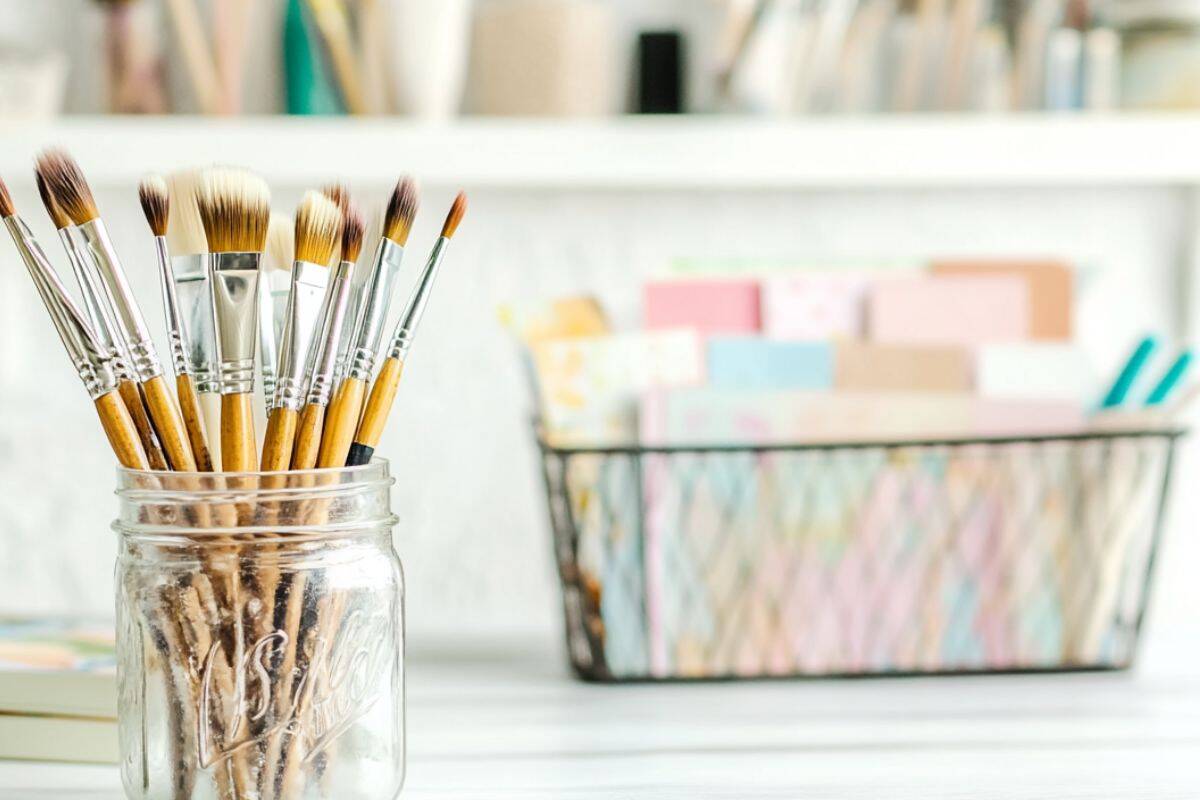
14. Leftover Jars for Paintbrush and Pencil Storage
Any leftover jar works for keeping paintbrushes and pencils upright and easy to grab.
Glass jars are great because you can see what’s inside, but plastic ones work too.
If you’ve got a bigger collection, line a few jars together so you can sort by size or type.
These cost nothing and look cute on a shelf when you add a bit of ribbon or twine.
It also keeps brush bristles from getting crushed in drawers.
15. Cardboard File Boxes for Paper Stashes
Those cheap cardboard file boxes hold way more craft paper than you’d expect.
They’re perfect for cardstock, vinyl sheets, scrap paper, and pattern templates.
Since they’re lightweight, you can stack them or line them up on a shelf without feeling cramped.
Label the front so you know what’s inside and you’re good to go.
It’s a super inexpensive way to keep all your paper from curling or getting lost.
Bringing Order Back to Your Craft Space
Bringing order back to your craft space doesn’t have to cost much at all!
A few cheap containers, some repurposed jars, and a couple of smart little swaps can make the whole room feel calmer.
Your supplies stay neat, your projects stay together, and you’re not hunting for lost scissors every five minutes.
A tidy craft room just makes creating a lot more fun.